Spring Checklist: 10 Things to Do Before Your First Inspection
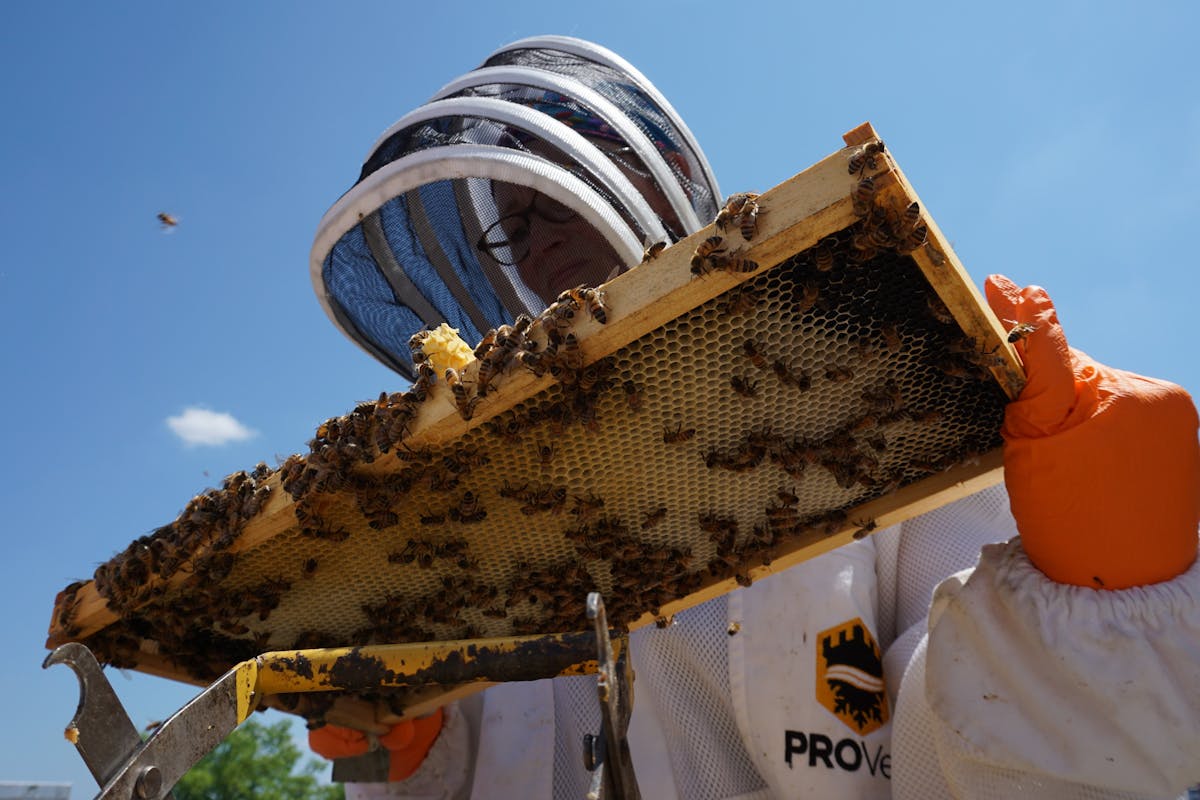
Spring is the most exciting time in beekeeping. The days are getting longer, the first flowers are blooming, and your bees are waking up from winter. But before you crack open that first hive, there are a few things you need to do to set your season up for success.
Whether you're managing two hives or two hundred, this checklist will help you walk into your first spring inspection prepared, organized, and confident. Skip any of these steps and you might miss something that costs you a colony later.
The Spring Checklist
1 Check for Winter Losses
Before you even open a hive, do a quick walkthrough of your apiary. Look for hives that are completely silent — no activity at the entrance on a warm day when other colonies are flying. These are your potential dead-outs. Tilt the hive gently: if it feels very light, the colony likely starved. A quick peek under the outer cover can confirm whether you have a living cluster or not.
Document every dead-out and note probable causes (starvation, mite damage, queenlessness) so you can learn from the losses and adjust your fall management next year.
2 Assess Dead-Outs
For colonies that didn't make it, don't just write them off. Examine the dead-out carefully to understand what happened. Head-first bees in cells usually means starvation. Spotty brood with perforated cappings could indicate disease. A large cluster of dead bees with plenty of honey nearby might suggest a varroa crash. The dead-out tells a story — take the time to read it.
3 Evaluate Food Stores
For colonies that survived, food is your first concern. Lift the back of each hive to gauge weight. A colony that feels light needs emergency feeding right away — don't wait for your formal inspection. A 1:1 sugar syrup or a fondant patty can mean the difference between a colony that builds up strong and one that starves in late March.
How BeeKeeperVoice helps
Use voice checklists to work through each hive systematically so nothing gets missed. As you assess each colony, just speak your findings — "Hive 3, light on stores, needs feeding" — and the app captures it instantly. No clipboard, no fumbling with gloves off in the cold.
4 Confirm Queen Presence
You don't necessarily need to see the queen herself during the first inspection. Look for fresh eggs — small, white, standing upright at the bottom of cells. Eggs mean the queen was laying within the last three days. If you see larvae but no eggs, she may have paused laying recently. No eggs and no young larvae? You may have a queenless colony that needs attention fast.
5 Assess Brood Pattern
Once you find brood, evaluate the pattern. A solid, wall-to-wall brood pattern with very few empty cells tells you the queen is healthy and productive. A scattered, shotgun pattern with lots of gaps could indicate a failing queen, disease, or inbreeding. Early spring brood nests will be small — that's normal — but the pattern within that nest should still be tight.
6 Gauge Population Strength
How many frames of bees does each colony cover? A strong overwintered colony should have 6-8 frames of bees by early spring and be expanding rapidly. A colony covering only 2-3 frames is behind and may need to be combined with another weak colony rather than nursed along all season. Weak colonies that limp through spring rarely become productive — they're more likely to become a mite sink.
How BeeKeeperVoice helps
Tap your phone to an NFC tag on the hive and instantly pull up last fall's inspection data. You can see exactly where each colony stood going into winter — population, mite count, food stores, queen status — so you know what to expect and can spot problems faster.
7 Establish a Varroa Baseline
It's never too early to start monitoring mites. Take an alcohol wash or sugar roll from your strongest colonies during the first inspection. This gives you a baseline mite count before brood rearing explodes the mite population. If you're already above 2 mites per hundred bees in early spring, you may need to treat before the first honey flow — and you need to know that now, not in June.
8 Inspect Equipment Condition
Winter is hard on equipment. Check for rotted bottom boards, cracked boxes, broken frames, and damaged covers. Mice love to nest in empty supers over winter, so inspect any stored equipment before you need it. Replace anything that's compromised — a leaky hive is a stressed hive, and stressed colonies underperform all season.
9 Observe Entrance Activity
Before you ever open a hive, spend five minutes watching the entrance. Bees returning with pollen loads? That's a great sign — it means the queen is laying and nurses are feeding brood. No activity while neighboring hives are flying? Something's wrong. Bees dragging out dead brood? There may be a disease or chill issue. The entrance tells you a lot before you pull a single frame.
10 Set Up Your Inspection Schedule
Finally, plan your season. Spring inspections should happen every 7-10 days once colonies are building up. This frequency lets you catch swarm preparations, monitor queen performance, and stay ahead of problems. Mark your calendar now — if you wait until "whenever you get around to it," you'll miss critical windows.
How BeeKeeperVoice helps
Set up recurring inspection reminders and let the AI flag colonies that need immediate attention based on your data. When you've got 10 hives and life gets busy, automated reminders and smart prioritization mean you always know which colonies to check first. The app's calendar keeps your entire season organized from day one.
Spring Sets the Tone for Everything
A thorough spring assessment isn't just busywork — it's the foundation for your entire season. The colonies you feed now will build up faster. The failing queens you catch now won't drag down a colony for months. The mite baselines you establish now give your treatment decisions actual data to stand on.
The beekeepers who lose the fewest colonies aren't luckier than the rest. They're more prepared. They check every box in spring, record what they find, and let that data guide every decision that follows.
Your bees survived the winter. Give them the best possible start to spring.
Never miss a step with voice-powered checklists
Try BeeKeeperVoice free for a full month and start your spring inspections with confidence.
Download on App Store