The Doolittle Method of Queen Rearing: A Step-by-Step Guide
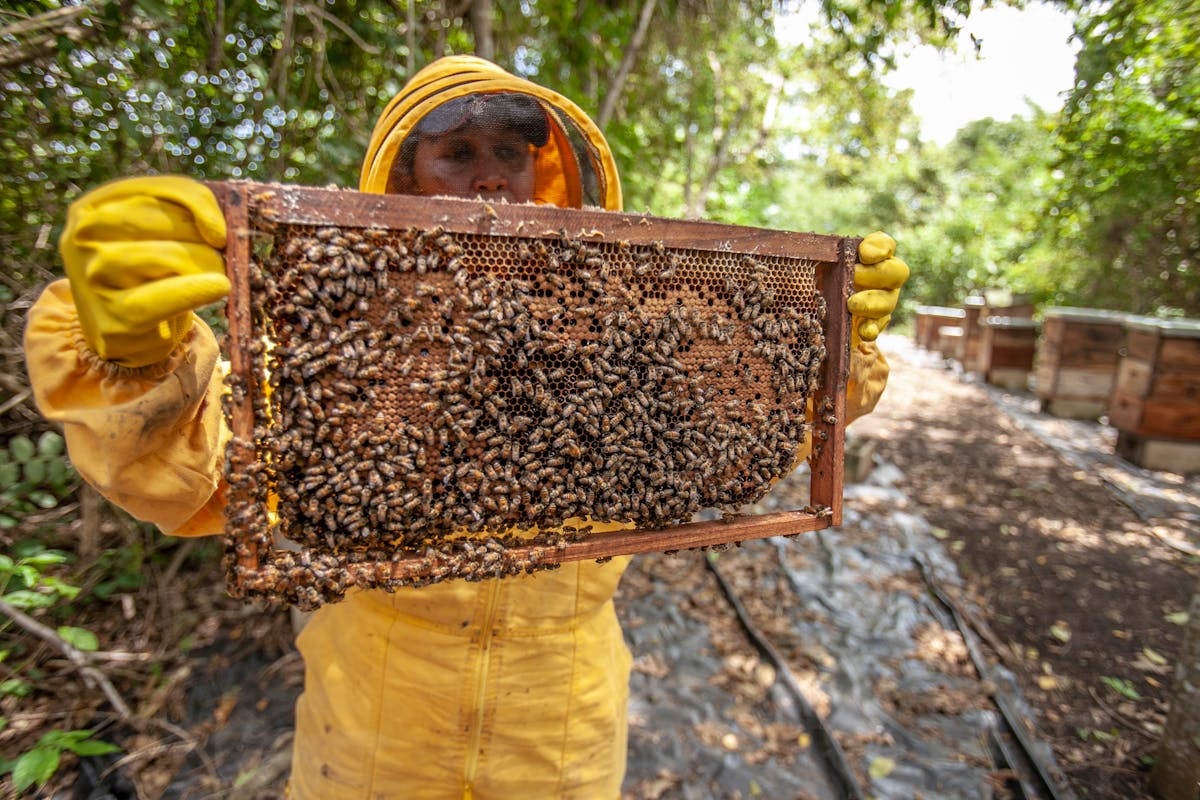
If there's one method that revolutionized queen rearing and made it accessible to beekeepers of all levels, it's the Doolittle Method. Developed by Gilbert M. Doolittle in the late 1800s and published in his landmark book Scientific Queen-Rearing (1889), this grafting-based technique remains the gold standard for raising quality queens more than a century later.
Whether you're raising queens for the first time or refining your process, understanding the Doolittle Method gives you a reliable, repeatable system. And when you pair it with modern tools to track every stage, your success rate — and your genetics — only get better over time.
Why the Doolittle Method?
Before Doolittle, queen rearing was largely left to chance. Beekeepers would cut queen cells from colonies or hope for natural supersedure. The results were unpredictable, and there was no way to select for desirable traits.
Doolittle's breakthrough was simple but powerful: transfer very young larvae into artificial queen cups, place them in a strong queenless colony, and let the bees raise them into queens. This gave beekeepers control over which genetics they propagated and allowed them to produce multiple queens on a predictable schedule.
The Doolittle Method Step by Step
1 Select Your Breeder Queen
Everything starts with choosing the right mother. Look for a queen whose colony demonstrates the traits you value most — gentle temperament, strong honey production, good brood patterns, hygienic behavior, mite resistance, or winter hardiness. This is the genetics you'll be propagating, so choose carefully.
How BeeKeeperVoice helps
Use queen performance scores to identify your top-performing queens objectively. Instead of guessing which queen has the best traits, sort by lifetime score and review metrics like brood pattern, health, and population trends across inspections. The data tells the story.
2 Prepare Queen Cups
Doolittle pioneered the use of artificial wax queen cups made by dipping a wooden dowel into melted beeswax. Today, most beekeepers use plastic cell cups (like JZ-BZ cups) attached to a cell bar inside a frame. You'll typically prepare 15-20 cups per bar, and one or two bars per cell builder.
A small drop of royal jelly or diluted honey in each cup before grafting helps acceptance rates. This primes the cup so the larva doesn't dry out and gives nurse bees a head start.
3 Graft Young Larvae
This is the heart of the Doolittle Method. Using a grafting tool, carefully transfer larvae that are 12-24 hours old from your breeder queen's colony into the prepared cups. The larvae should be tiny — barely visible, sitting in a small pool of royal jelly at the bottom of the cell.
Key tips for successful grafting:
- Timing is critical — larvae older than 24 hours produce inferior queens
- Work quickly — larvae dry out fast once exposed
- Good lighting — a headlamp or magnifier helps enormously
- Steady hands — slide the tool under the larva without rolling it
- Practice — your first round may have low acceptance. That's normal.
How BeeKeeperVoice helps
Record your grafting session hands-free: "Grafted 20 cells from Queen Q16, breeder colony H160, March 16." Voice notes capture the details in real time so you never forget which genetics went into which batch. The app links the graft to the breeder queen's profile automatically.
4 Set Up the Cell Builder
The cell builder is the colony that will raise your grafted larvae into queen cells. Doolittle used a strong, queenless colony packed with young nurse bees. The queenless condition triggers an urgent desire to raise new queens, and the abundance of nurse bees ensures the cells are well-fed with royal jelly.
There are two common approaches:
- Queenless cell builder — Remove the queen 24 hours before introducing grafts. Simple and effective, but you sacrifice a queen.
- Queenright cell starter/finisher — Start cells in a queenless portion above an excluder, then let the queenright colony finish them. More complex but sustainable for ongoing production.
5 Incubation and Cell Development
Once the grafts are accepted (check after 24 hours — accepted cells will have royal jelly and an extended wax edge), the bees will cap the queen cells around day 5 after grafting. The queen pupates inside the cell for several more days.
On day 10 after grafting (day 14 from egg), the cells must be moved to mating nucs or an incubator. If left together, the first queen to emerge will destroy the remaining cells.
How BeeKeeperVoice helps
Set voice reminders: "Remind me to check graft acceptance tomorrow" and "Move queen cells to mating nucs on March 26." The app's work calendar tracks every critical date so nothing falls through the cracks during the tight queen rearing timeline.
6 Mating Nucs
Transfer ripe queen cells (one per nuc) into small mating nucleus colonies. These are mini colonies with a couple of frames of bees, some brood, and food stores. The virgin queen will emerge, take her mating flights over the following 1-2 weeks, and begin laying.
Check mating nucs about 2-3 weeks after cell transfer. Look for eggs — small, white, standing upright at the bottom of cells. A good laying pattern with single eggs per cell tells you the queen mated successfully.
7 Evaluate and Introduce
Not every queen is a keeper. Evaluate your new queens based on:
- Laying pattern — solid, consistent brood with few gaps
- Temperament — is the colony calm during inspections?
- Brood health — no signs of disease or abnormalities
- Build-up — is the colony growing at an appropriate rate?
Queens that meet your standards can be introduced to queenless production colonies or kept as backups. Those that don't measure up should be replaced — it's better to requeen early than let a poor queen drag down a colony.
How BeeKeeperVoice helps
Every inspection you record builds the queen's performance profile. Over time, BeeKeeperVoice calculates a lifetime performance score based on visibility, brood quality, health, and population data. You can compare daughters against their mother to see if your breeding program is improving — real data, not guesswork.
The Doolittle Method + Modern Tracking = Better Queens
Doolittle gave beekeepers a system for raising queens reliably. But without good records, each round of queen rearing starts from scratch. You can't remember which breeder produced the best daughters, which cell builders had the highest acceptance rates, or which mating yards gave you the best-mated queens.
That's where tracking changes everything. When you record every graft, every acceptance check, every queen evaluation — and you can do it all by voice without putting down a frame — you build a dataset that makes your breeding program smarter every season.
Your best queens aren't the ones you remember. They're the ones your data proves.
Track your queen rearing program with your voice
Try BeeKeeperVoice free for a full month and see how voice-powered tracking transforms your Doolittle workflow.
Download on App Store