Your First Year of Beekeeping: The 12 Inspections That Matter Most
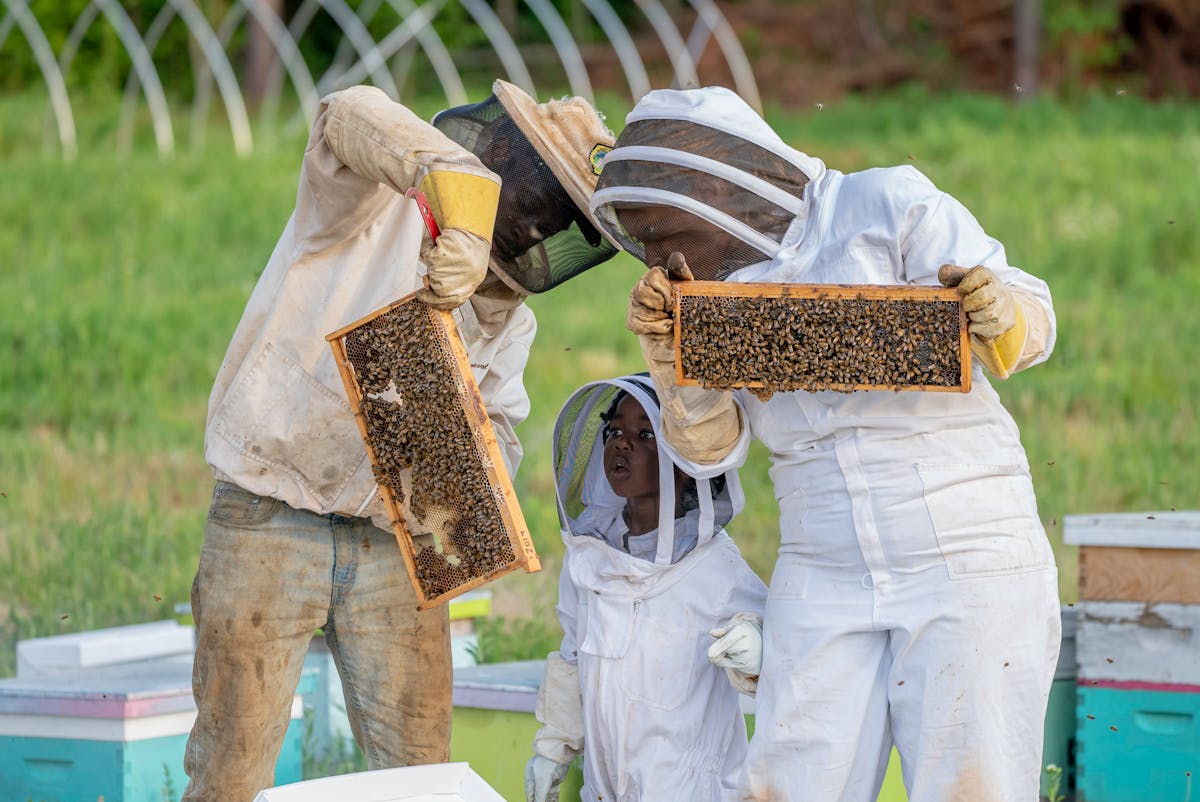
Your first year of beekeeping is equal parts thrilling and terrifying. You've read the books, taken the class, bought the equipment, and now you're standing in front of a buzzing box full of thousands of stinging insects wondering, "What exactly am I supposed to do?"
Here's the truth: you don't need to inspect every week, and you definitely don't need to know everything right away. What you need is a clear roadmap — the key inspections that matter most during your first year, what to look for at each one, and what beginners commonly get wrong. This guide gives you exactly that, month by month, from the day you install your package through your first winter.
April: The Install (Inspections 1-2)
Inspection 1: Package Install Day
This is the day your bees arrive. Your job is simple: get the bees into the hive and the queen cage placed correctly. The queen is in a separate cage with a candy plug. Hang the cage between two center frames with the candy end accessible to the workers. Pour the bees in gently, close up, and walk away. Resist the urge to check on them for a few days.
Inspection 2: Queen Release Check (Day 5-7)
Come back in 5-7 days to confirm the queen has been released from her cage. Pull the queen cage — if it's empty, she's out. Look for eggs: tiny white grains standing upright in the bottom of cells. Eggs mean the queen is accepted and laying. If the cage is still plugged and the queen is inside, carefully release her directly onto a frame of bees.
Common first-year mistake: Checking too early (day 2-3) and disturbing the colony before the queen is accepted. Give them time.
How BeeKeeperVoice helps
Guided voice checklists walk you through each inspection step by step — perfect for beginners who aren't sure what to look for yet. Just follow the prompts: "Queen present? Eggs visible? Brood pattern? Food stores?" The app captures your answers and builds your colony's history from day one.
May: The Build-Up (Inspections 3-5)
Inspection 3: First Full Inspection (Week 3)
Now you can do a thorough frame-by-frame inspection. Look for expanding brood pattern, eggs on multiple frames, and workers drawing out new comb. The colony should be growing — more bees, more brood, more activity at the entrance. Continue feeding 1:1 syrup until the bees stop taking it.
Inspection 4: Comb Progress (Week 5)
By now, bees should be drawing comb on most frames in the first box. If they've drawn 7-8 of 10 frames, it's time to add a second brood box. Don't wait until every frame is complete — add the second box when they're about 70-80% drawn. This gives them room to grow without feeling crowded.
Inspection 5: Second Box Assessment (Week 7)
Check that bees are moving up into the second box and drawing comb there. The queen should be laying in both boxes by now. Population is increasing rapidly. Watch for even, solid brood patterns across frames.
Common first-year mistake: Adding the second box too late. A crowded first-year colony can actually swarm — rare but not impossible.
June-July: Peak Season (Inspections 6-8)
Inspection 6: First Mite Check (Early June)
Time for your first varroa mite test. Do an alcohol wash or sugar roll and get your baseline number. First-year packages typically have low mite loads early on, but you need to establish a baseline. If you're above 2 mites per hundred bees, consider treatment now — don't wait and hope.
Inspection 7: Mid-Summer Health Check (Late June)
Assess overall colony health. Queen still laying well? Brood pattern solid? Population strong? Look for signs of disease — discolored larvae, foul smell, sunken cappings. This is also a good time to assess temperament. A suddenly aggressive colony may have requeened itself.
Inspection 8: Honey Assessment (Mid-July)
First-year colonies from packages rarely produce surplus honey — they're using everything they gather to build comb and raise brood. That's normal and expected. Your goal in year one is a strong, healthy colony going into winter, not honey production. If bees are storing honey above the brood nest, that's great — it's their winter food.
Common first-year mistake: Harvesting honey from a first-year colony. Don't. They need every drop for winter.
How BeeKeeperVoice helps
The AI acts like a mentor, offering recommendations based on your inspection data and the time of year. Log your findings by voice, and the app suggests next steps: "Population is strong but mite count is rising — consider treatment before fall." It's like having an experienced beekeeper looking over your shoulder.
August-September: Getting Ready for Winter (Inspections 9-10)
Inspection 9: Critical Mite Treatment (Early August)
This is the most important mite check of the year. Test again — mite populations have been growing all summer inside capped brood, and August is when they peak. If you're above threshold, treat immediately. The bees your colony raises in September and October are the "winter bees" that must survive until spring. If those bees are compromised by varroa-transmitted viruses, the colony won't make it.
Inspection 10: Fall Assessment (Mid-September)
Evaluate the colony's winter readiness. Is the queen still laying? Are there 8+ frames of bees? Is there enough stored honey (at least 60 pounds in northern climates)? If stores are light, start feeding 2:1 heavy syrup to stimulate storage. Check that the brood nest is healthy and the queen is producing the fat, long-lived winter bees your colony needs.
October-November: Closing Down (Inspections 11-12)
Inspection 11: Winter Prep (Early October)
Reduce entrances to prevent robbing and help guard against mice. Remove any empty supers. Add mouse guards. In cold climates, consider moisture management — a moisture quilt or insulated top cover helps prevent condensation from dripping onto the winter cluster. Make sure the hive is tilted slightly forward so water runs out rather than pooling inside.
Inspection 12: Final Check (Late October/Early November)
Your last look before winter. Heft the hive for weight — it should feel heavy with stores. Add emergency fondant or a sugar board on top if you're worried about food. This is also a good time for a final OAV treatment during the broodless period to knock down any remaining mites heading into winter.
Common first-year mistake: Opening the hive during winter "to check on them." Don't. Once it's cold, leave them alone. Cracking the hive breaks the propolis seal and lets in cold air. Trust your fall preparation and wait for spring.
How BeeKeeperVoice helps
By the time you reach your first winter, you'll have a complete inspection history for your colony — from package install to winter prep. BeeKeeperVoice works offline, so even if your apiary has no cell service, you can record inspections by voice and sync when you're back in range. When spring arrives, you'll have all the data you need to start year two with confidence.
Your First Year Is About Learning, Not Perfection
You're going to make mistakes in your first year. Every beekeeper does. You'll drop a frame, miss a queen cell, feed too late, or inspect on a day when the bees really didn't want company. That's all part of the process.
What separates beekeepers who thrive from those who quit after year one is learning from each inspection. And the best way to learn is to record what you see. Not because you need perfect notes — but because in March, when you're about to start your second season, you'll be able to look back at every inspection from year one and understand what happened, what worked, and what you'll do differently.
That record is the most valuable thing you'll build in your first year. More valuable than honey. Start it on day one.
Start your beekeeping journey with guided voice inspections
Try BeeKeeperVoice free for a full month — perfect for first-year beekeepers who want a mentor in their pocket.
Download on App Store